
S3 is a file storage service provided by AWS.
This time, I configured a bucket to store images and created a page to upload images to the bucket.
To enhance security, I created an IAM account named 'rookie_reivew' instead of using the root account.
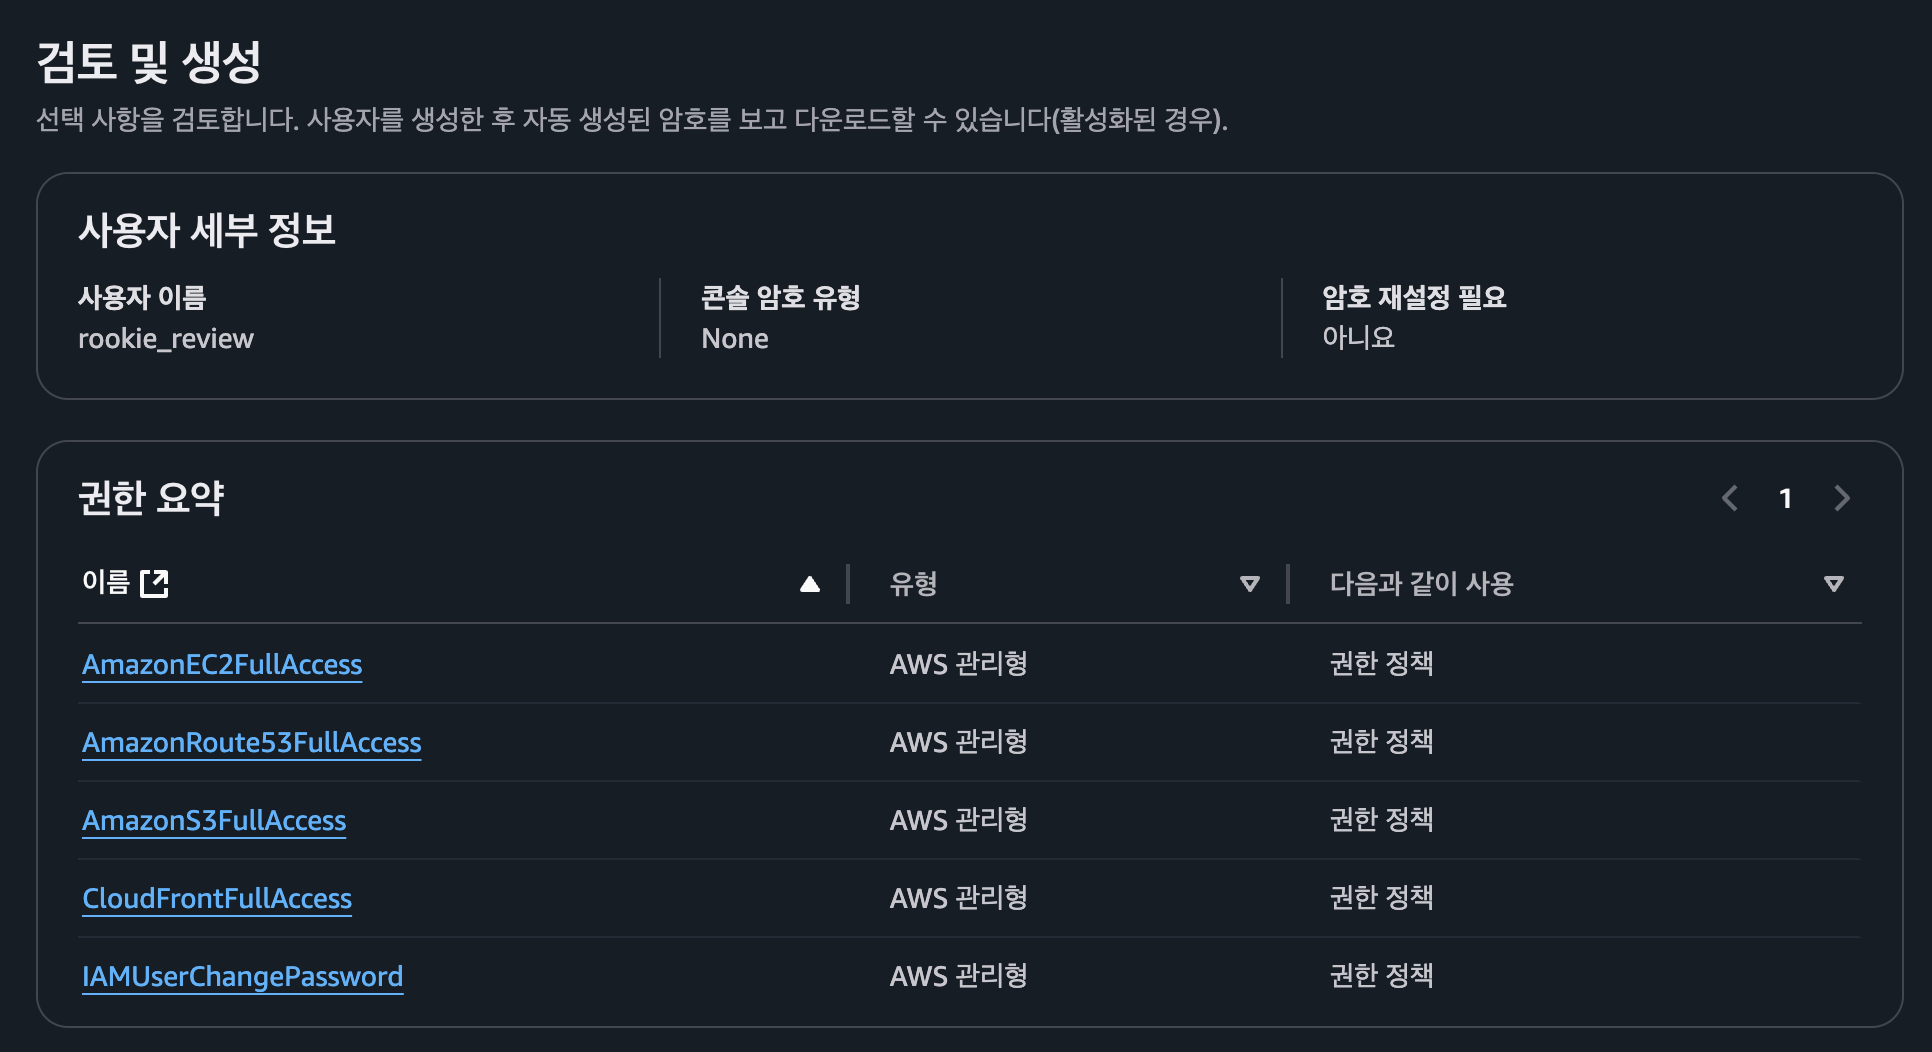
I plan to add additional policies only when necessary in the future. And I also issued an access key.
Using this IAM account, I created a bucket and configured its bucket policy to control access
{
    "Version": "2012-10-17",
    "Statement": [
        {
            "Sid": "1",
            "Effect": "Allow",
            "Principal": "*",
            "Action": "s3:GetObject",
            "Resource": "arn:aws:s3:::rookie-review-test/*"
        },
        {
            "Sid": "2",
            "Effect": "Allow",
            "Principal": {
                "AWS": "arn:aws:iam::559050210272:user/rookie_review"
            },
            "Action": [
                "s3:PutObject",
                "s3:DeleteObject"
            ],
            "Resource": "arn:aws:s3:::rookie-review-test/*"
        }
    ]
}
Edit the CORS settings. To make development more convenient, I temporarily set 'AllowedOrigins' in the CORS configuration to allow all origins.
[
    {
        "AllowedHeaders": [
            "*"
        ],
        "AllowedMethods": [
            "PUT",
            "POST",
            "GET"
        ],
        "AllowedOrigins": [
            "*"
        ],
        "ExposeHeaders": [
            "ETag"
        ]
    }
]
Let's write page for image upload.
'use client';

import { ChangeEvent, useState } from 'react';
import Image from 'next/image';

export const TestPage = () => {
  const [previewImg, setPreviewImg] = useState<File>();

  const saveHandler = async () => {
    if (!previewImg) return;

    const formData = new FormData();
    formData.append('image', previewImg);

    const result = await fetch('/api', {
      method: 'POST',
      body: formData,
    }).then((res) => res);

    if (result.status === 200) {
      alert('Successfully uploaded');
    }
  };

  const fileHandler = (e: ChangeEvent<HTMLInputElement>) => {
    if (e.target.files && e.target.files.length > 0) setPreviewImg(e.target.files[0]);
  };

  return (
    <div className="flex w-full h-full p-10 ">
      <form className="flex flex-col items-center w-full gap-10">
        <input type="file" onChange={(e) => fileHandler(e)} />
        {previewImg && <Image src={URL.createObjectURL(previewImg)} alt="Preview Image" width={400} height={400} />}
        <button type="button" onClick={() => saveHandler()} className="bg-gray-300 px-6 py-4 text-gray-900">
          save
        </button>
      </form>
    </div>
  );
};
app/api/route.ts
import { PutObjectCommand, S3Client } from '@aws-sdk/client-s3';
import { NextRequest, NextResponse } from 'next/server';

const Bucket = process.env.AMPLIFY_BUCKET as string;
const s3 = new S3Client({
  region: process.env.AWS_REGION as string,
  credentials: {
    accessKeyId: process.env.AWS_ACCESS_KEY_ID as string,
    secretAccessKey: process.env.AWS_SECRET_ACCESS_KEY as string,
  },
});

export const POST = async (req: NextRequest) => {
  const form = await req.formData();
  const file = form.get('image') as File;

  if (!file || file.size === 0) {
    return new Response('No file uploaded', { status: 404 });
  }

  const buffer = await file.arrayBuffer();

  const fileParams = {
    Bucket: Bucket,
    Key: file.name,
    Body: new Uint8Array(buffer),
    ContentType: file.type,
  };

  await s3.send(new PutObjectCommand(fileParams));

  const url = `https://${fileParams.Bucket}.s3.amazonaws.com/${fileParams.Key}`;

  return NextResponse.json({ url }, { status: 200 });
};
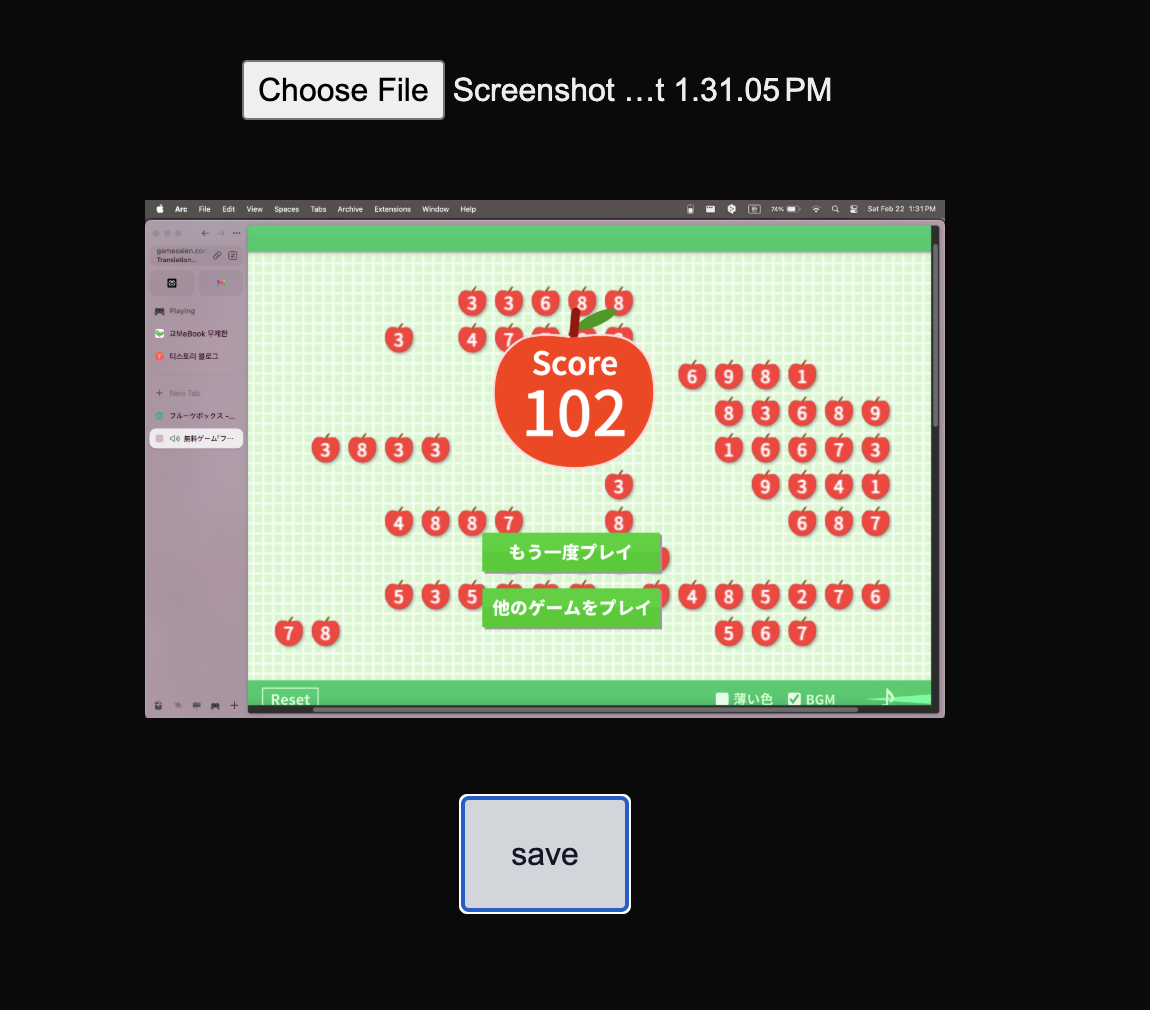
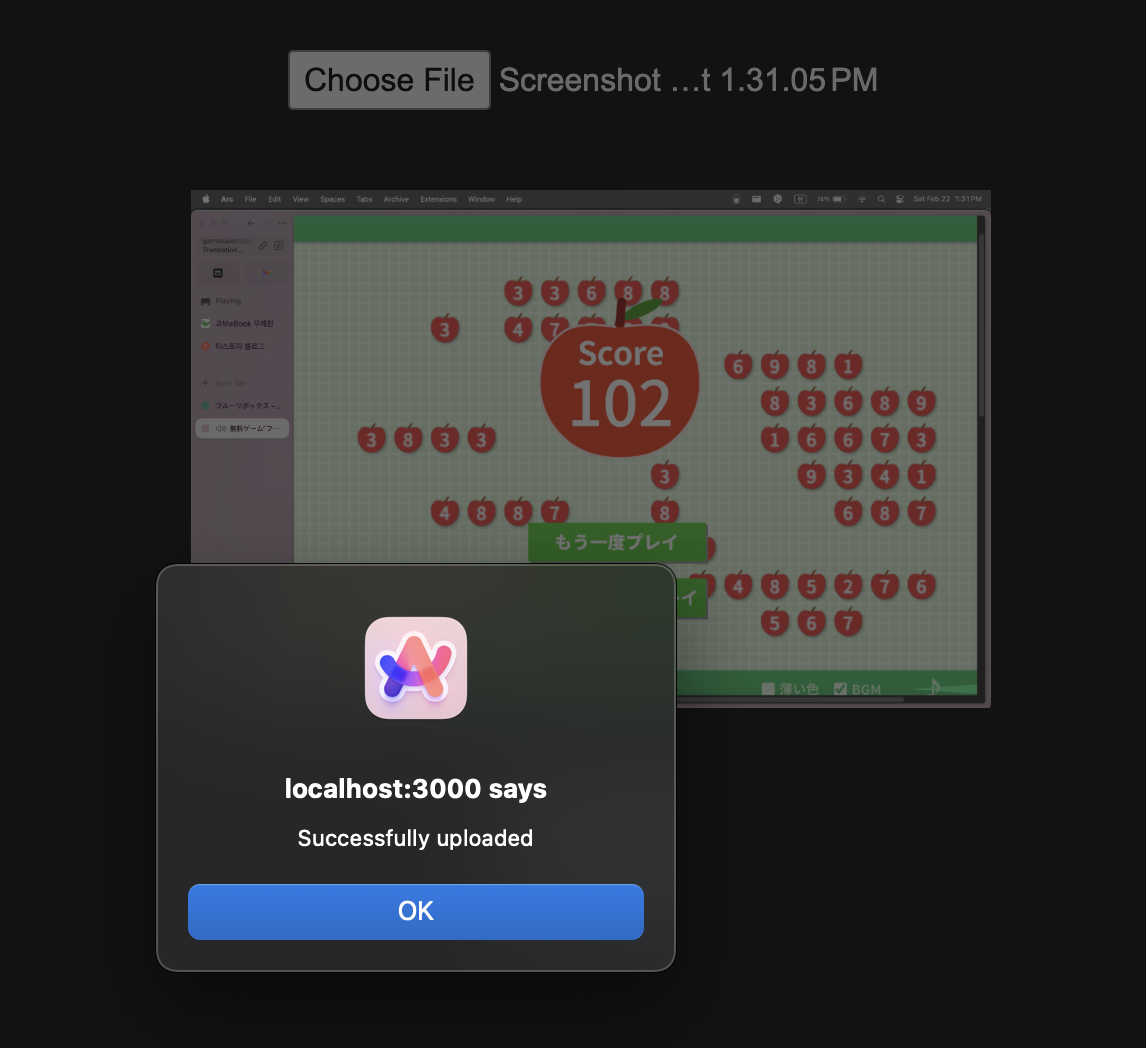
It works successfully. :D

Server too!
'공부 > 코딩' 카테고리의 다른 글
| 와플 스튜디오 루키 과정 복습하기 5 - Distribution with AWS EC2 (No Versel) (0) | 2025.02.25 |
|---|---|
| 와플 스튜디오 루키 과정 복습하기 - 4: create API in Next.js (0) | 2025.02.23 |
| 와플 스튜디오 루키 과정 복습하기 - 2: fetch 와 supabase 기본 세팅 (0) | 2025.02.20 |
| 와플 스튜디오 루키 과정 복습하기 - 1: 개발환경 세팅 (Next.js, Bun) (0) | 2025.02.19 |
| 바닥부터 공부하기 - 서버와 클라이언트, 그리고 AWS (0) | 2025.01.25 |